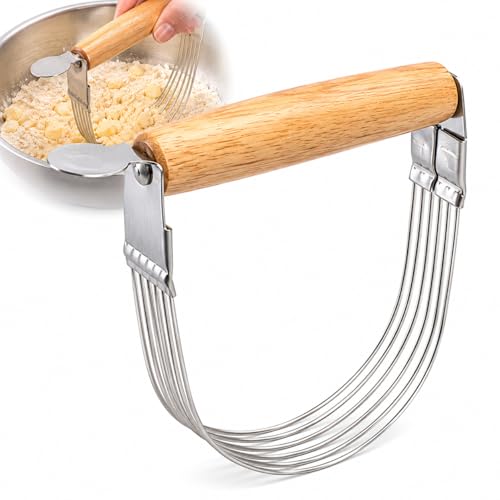
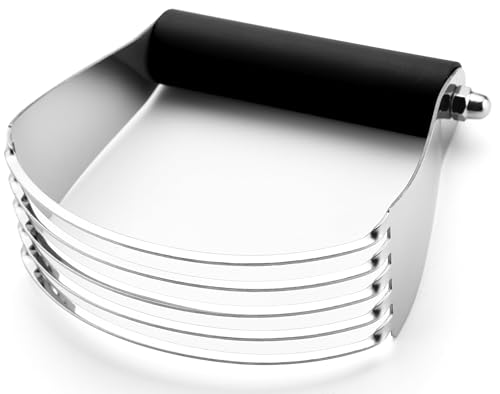
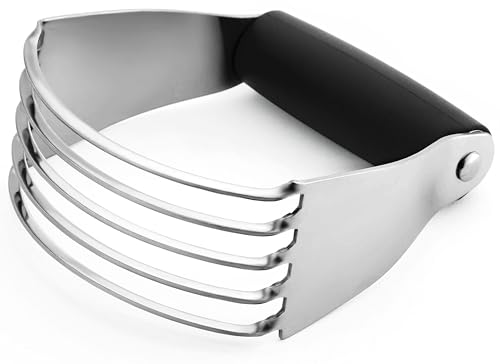
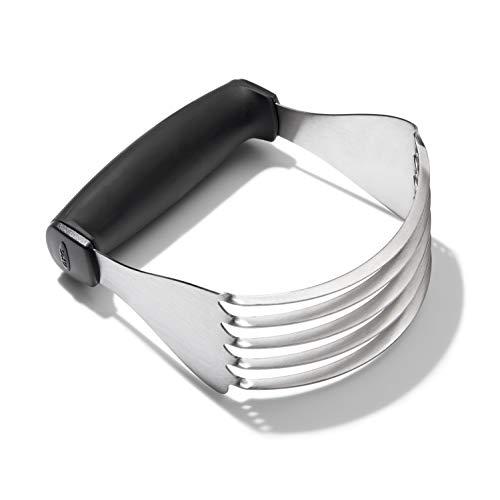
Buy the OXO Good Grips dough blender with blades. Flat stainless blades rather than wires is the whole argument: wires cut a cold cube beautifully and then splay and clog once the mixture reaches the coarse-crumb stage, which is precisely the point at which you still have work to do. OXO's is on a broad non-slip handle — the part your palm presses on for two minutes — and it is dishwasher safe, which the wood-handled wire cutters are not. The Mrs. Anderson's 6-wire cutter is the traditional shape and genuinely faster at the start, when the butter is still in half-inch cubes. The budget pick is the Spring Chef large: a blade cutter with a soft grip for under ten dollars, and the right amount of money to spend if you make pie dough twice a year. The Spring Chef medium is the same tool narrowed for small bowls.
Why the tool exists at all
Flaky pastry is layers of solid fat separated by flour. In the oven the water in that fat turns to steam, the steam pushes the flour layers apart, and the result is the flake. Which means the entire goal while you are making the dough is to keep the butter solid and in discrete pieces.
Your hands are at 98°F. Butter starts softening around 68°F. Rubbing butter into flour with your fingers works — generations of bakers did it — but you are racing your own body heat, and on a warm day you lose. A pastry blender is a hand tool that never warms the fat: stainless steel at room temperature cutting cold butter into flour, with your skin nowhere near it. That is the entire product.
The alternatives are a food processor, which is fast and very easy to overdo, two knives scissored together, which works and is slow, or a box grater with frozen butter, which is a genuinely good trick for biscuits. A pastry blender costs eight to seventeen dollars and gives you the most control of any of them.
Blades or wires
This is the only real decision in the category, and it is a trade rather than a winner.
Wires — the Mrs. Anderson's has six — present a thin edge and slice through a cold cube with very little pressure. That makes them fast in the first thirty seconds, when you are reducing half-inch cubes to pea-size. Then the mixture turns into something closer to damp sand with lumps in it, the wires meet resistance across their whole length, and thin wire does what thin wire does: it bends apart and the mixture packs into the gaps. You end up scraping it out with a knife every fourth stroke.
Blades — the OXO and both Spring Chefs — are stiffer and blunter. They are slightly slower on the first cubes because they need more pressure to get started. They then keep working all the way to the finish without splaying or clogging, which is why they are the better single tool.
Either way, the second thing to look at is the handle, because you will be pressing down through resistance repeatedly. A broad moulded handle spreads that pressure across your palm. A thin metal bar concentrates it, and after a minute you will notice.
What you actually use it for
Pie and tart dough. The canonical job. Cut cold butter into flour until the pieces are somewhere between a pea and a flattened almond, then add water. Our pie pan roundup covers where it goes next.
Biscuits and scones. Same technique, coarser finish — leave the butter bigger and the biscuits rise taller.
Streusel and crumble topping. Butter, flour, sugar, cut together until it clumps. Easier with a blade cutter than with your fingers, and the result holds its texture better in the oven.
Mashing things that are not dough. A pastry blender is the best avocado and hard-boiled-egg masher in the drawer, and it breaks up bananas for banana bread faster than a fork. Slightly beside the point, entirely true.
What it is not for is mixing a batter or working bread dough — for wet dough you want a Danish dough whisk (see is a dough whisk worth it), and for kneading you want a dough hook.
How to choose and use a pastry blender
Buy blades, and buy the broad handle
A blade-style cutter with a wide, soft handle is the one tool that works from cube to crumb. Spend seventeen dollars on the OXO if you make pastry regularly; spend eight on the Spring Chef large if you make it twice a year. Either way, avoid the thin bare-metal-bar handles — they are uncomfortable in exactly the part of the job that takes effort.
Freeze the butter, chill the flour
Cube the butter and put it in the freezer for ten minutes before you start, and put the bowl of flour in the fridge while you do. Cold butter cuts into clean pieces; cool butter smears. If your kitchen is warm, work in two batches and put the bowl back in the fridge between them. A stainless or glass bowl helps here — see glass vs stainless mixing bowls.
Press straight down, then quarter-turn the bowl
The motion is a straight downward press and lift, not a stir. Press, lift, rotate the bowl a quarter turn, press again. Stirring drags the fat across the flour and smears it, which is the opposite of what you want. Scrape the blades with a bench scraper or a knife when they load up.
Stop at pea-sized, not uniform
The target is a mix of sizes — some pieces like peas, some flatter and bigger like rough almond flakes — not an even sandy texture. Those bigger flat pieces are what become visible layers. Uniform fine crumbs make a tender, short, mealy crust, which is correct for a tart shell and wrong for a flaky pie top.
Wash it immediately
Butter-and-flour paste sets hard between blades and around wires. Rinse it under warm water before you do anything else. The OXO and both Spring Chefs are fine in a dishwasher; the wood-handled Mrs. Anderson's is hand wash and should not be soaked, because water in the handle join is how a wood-handled tool loosens.
Do not use it as a lever
Every pastry blender fails in the same place: where the blades or wires meet the handle. The way to get there is pressing hard at an angle or using it to prise something. Press straight down, and if the mixture is too stiff to cut, the butter is too cold rather than the tool too weak — wait two minutes.